
Good lighting does more than just make your wall art visible. It’s about using focused light to pull out the true colors, reveal hidden textures, and capture the emotional heart of the piece. The secret lies in using the right fixtures, angled just so, to create that professional, gallery-quality feel right in your own home.
The Secrets to Perfect Art Illumination
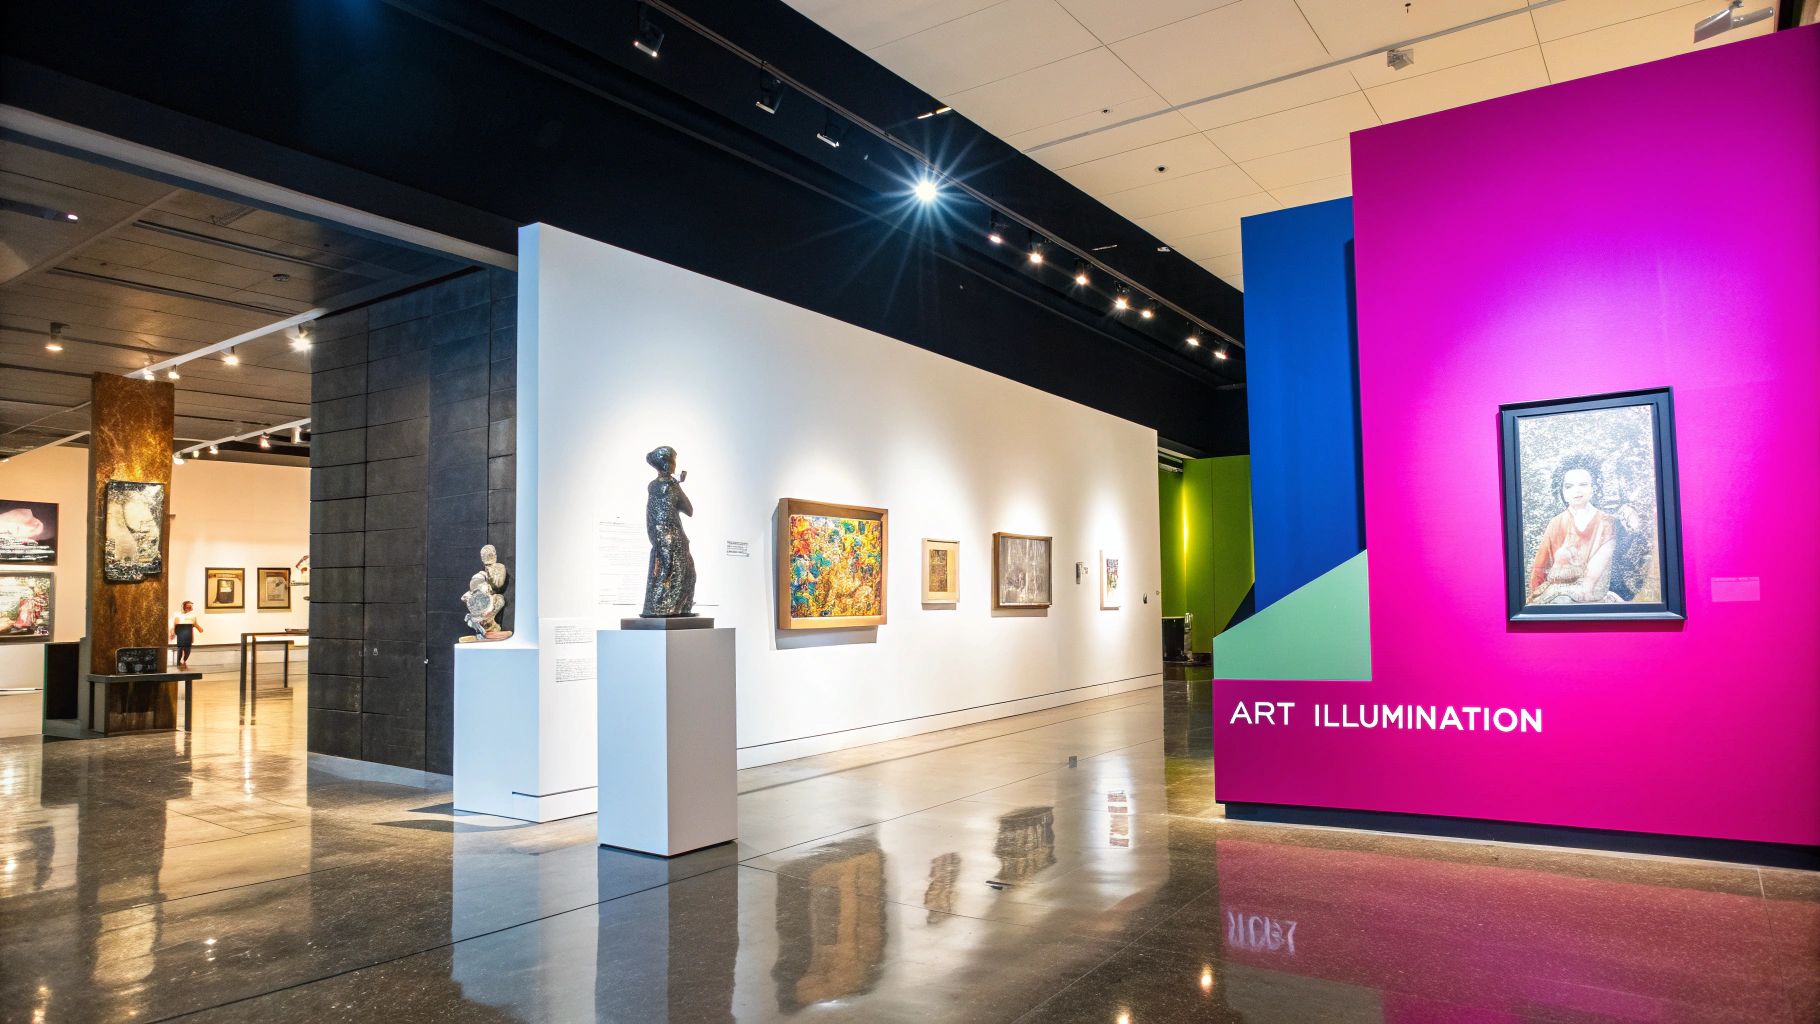
Before you even think about buying a light, you need to grasp why these choices are so critical. The right lighting is a powerful tool. It can completely transform how you see and feel a piece of art, bringing the artist's original vision roaring to life. It’s what separates simply hanging a painting from truly showcasing it.
This is especially true for more complex works. For example, if you're trying to figure out how to understand abstract art, the right light can expose those subtle textures and color shifts that are the keys to its story.
Why Dedicated Lighting Is a Must
Relying on the overhead light you already have in the room often does more harm than good. A central ceiling fixture casts a flat, generic light that causes two big problems for your art:
- Glare: Light bounces off the art's surface—especially if it’s behind glass or has a glossy finish—creating a distracting sheen that completely washes out the image.
- Shadows: The top of the frame casts a dark, distracting shadow over the artwork itself, breaking the connection between the viewer and the piece.
Dedicated lighting fixes all this. It gives you control over the light's direction and intensity, treating your art like the star of the show. To really get this right, it helps to think about the broader principles of architectural lighting design.
Good lighting doesn't just illuminate; it interprets. It guides the eye, sets the mood, and honors the artist's intention by revealing details that would otherwise be lost in the shadows.
The Growing Demand for Art-Focused Interiors
Creating these kinds of curated spaces at home isn't just a niche idea anymore; it's part of a much larger trend. The decorative lighting market, which includes all these art-focused solutions, was recently valued at USD 42.69 billion and is expected to keep growing. People are more interested than ever in creating sophisticated, personalized homes, and good lighting is a huge part of that.
Understanding the "why" behind your lighting choices is the first step. It moves you from just making a room brighter to thinking like a curator, ensuring every piece of art you love is seen in its absolute best light.
Choosing the Right Fixture for Your Space
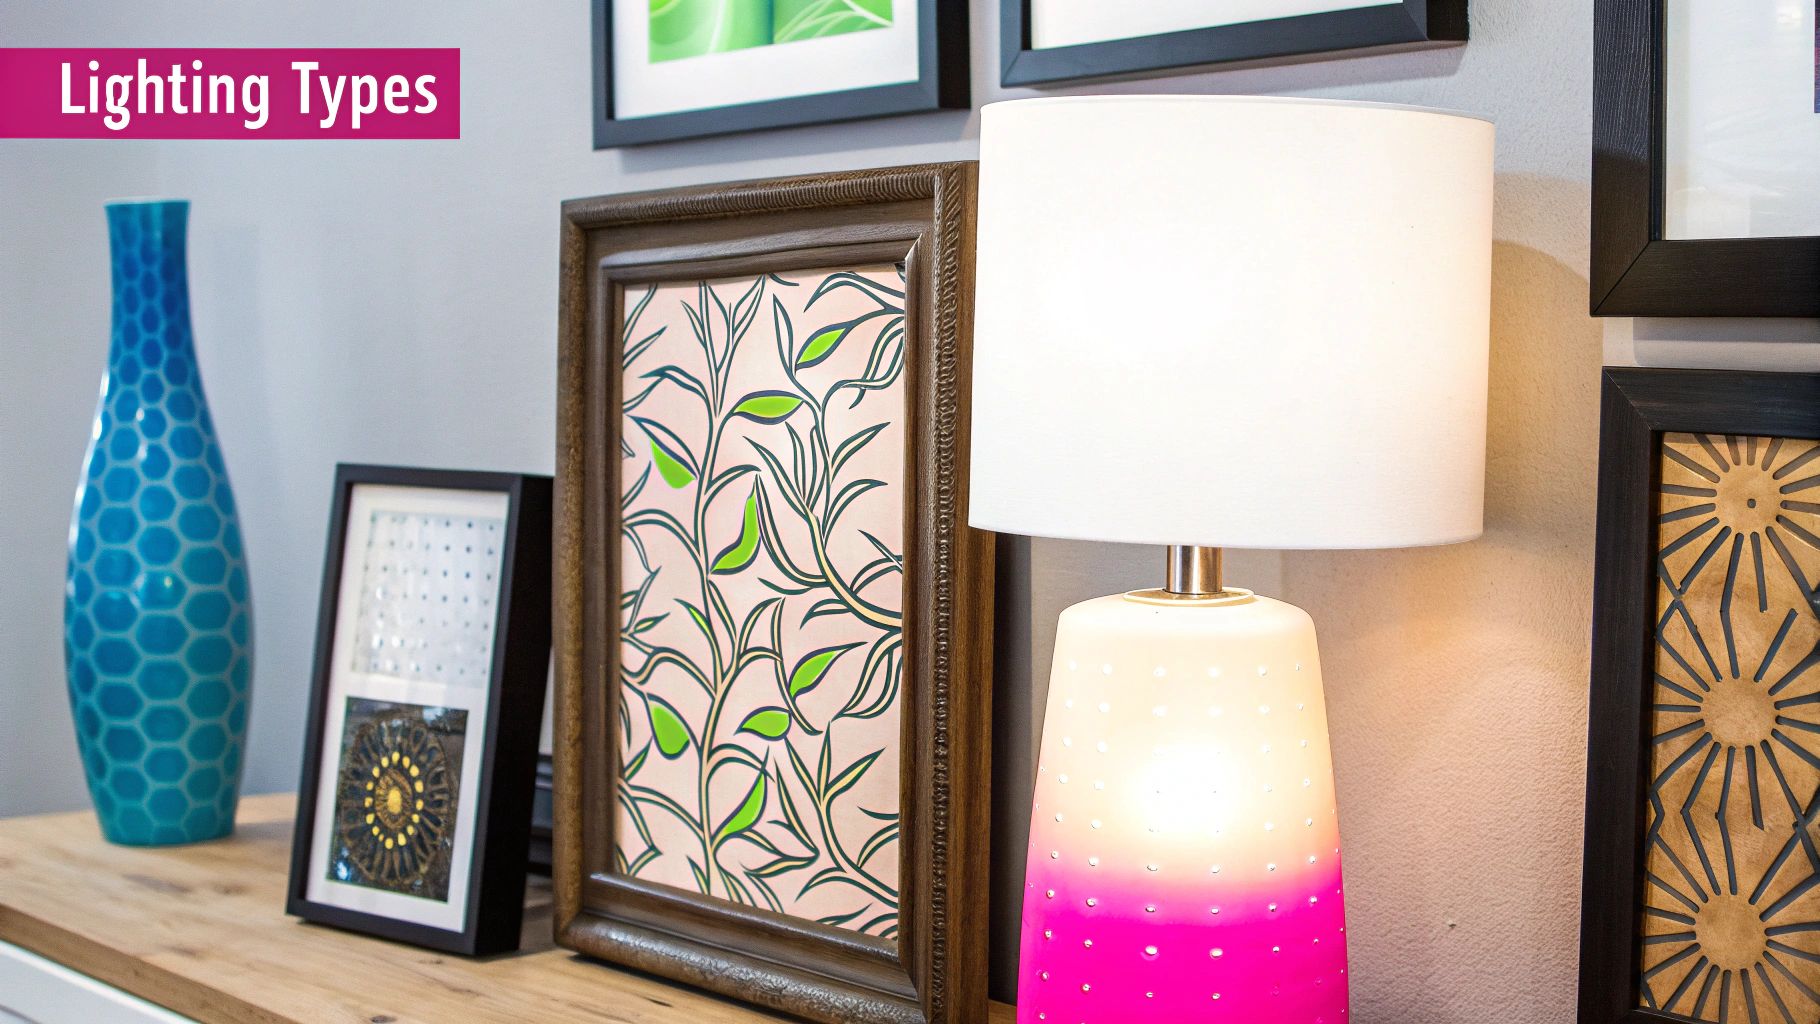
Now that we've covered the fundamentals, it's time for the fun part: picking the actual hardware. The fixture is what brings your lighting plan to life. Honestly, there's no single "best" light for art. The right choice is completely dependent on your goals, the artwork itself, and the layout of your room.
The first question I always ask is about the art collection. Are you dealing with a single, permanent centerpiece, or is it a growing gallery wall that changes over time? Your answer will immediately point you in the right direction.
For Flexibility and Growing Collections
If you're constantly swapping pieces or adding to your collection, track lighting is your best friend. It’s the ultimate flexible system. You can add, move, or re-aim individual light heads along a single track without needing an electrician for every little change. It’s perfect for those dynamic gallery walls or multi-use rooms where the furniture might shift.
A similar, more minimalist option is the monopoint fixture. Picture a single track light head, but mounted directly to the ceiling. You get the same pinpoint aimability but with a much cleaner look. It's a great solution for highlighting one or two important pieces without the visual weight of a full track.
For Even Illumination and Large-Scale Art
What if you have a massive painting or want to treat a group of smaller pieces as one cohesive unit? This is where wall washers come in. These fixtures, whether recessed into the ceiling or mounted on a track, are designed to bathe the entire wall in a broad, even sheet of light. The result is a clean, seamless glow that erases distracting shadows.
This technique is fantastic for large abstract pieces, where you want the viewer to take in the entire canvas at once.
Expert Tip: The goal with wall washing isn’t to create dramatic hot spots. It's about a soft, uniform luminescence that makes the whole wall feel brighter and bigger, subtly guiding the eye to the art.
For Traditional and Dedicated Pieces
For that classic, gallery-like feel, you can't go wrong with a traditional picture light. These fixtures mount right above the artwork, either on the wall or the frame itself, casting a dedicated pool of light downward. It creates a very intimate and sophisticated focal point. It's the go-to choice for an heirloom portrait or a treasured painting hanging in a more formal space.
Don't forget about wall sconces, either. They're a huge part of the decorative lighting market for a reason, holding the largest revenue share at 34.2%. Sconces are incredibly versatile, offering both focused light for your art and beautiful ambient light for the room.
Before you make a final decision, you have to think about the practical side of installation. Make sure the fixture you love works with your home's existing wiring. If you're wading into unfamiliar territory, checking out a comprehensive guide to electrical fittings and materials can save you a lot of headaches down the road.
Positioning Your Lights Like a Pro
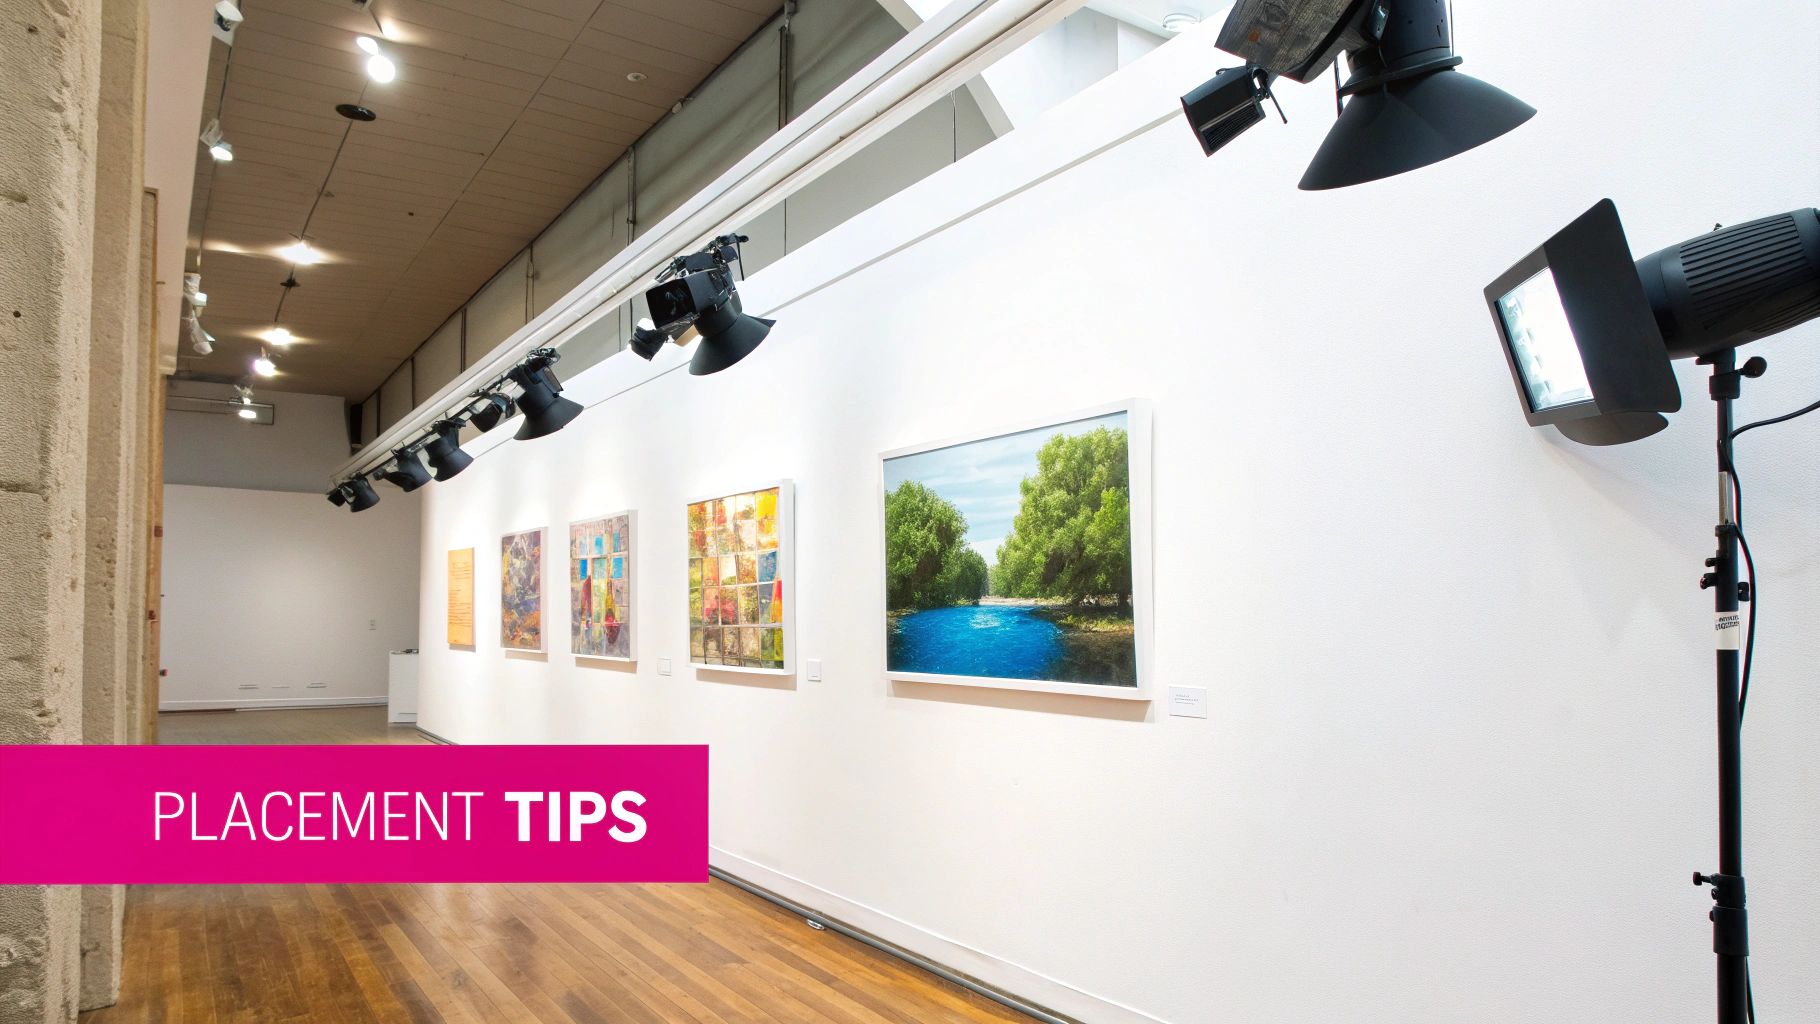
You’ve picked out the perfect fixture. Now comes the part that truly separates a good result from a great one: getting the placement just right. Where you position your light is just as critical as the hardware you choose. Get it wrong, and you can end up with the very things you were trying to avoid—distracting glare or weird, unflattering shadows.
But don't worry, there's a tried-and-true professional standard that works beautifully in nearly every home. It's all about finding the right angle to let your art take center stage, just as it was meant to.
The Magic of the 30-Degree Angle
If you walk through a museum or gallery, you're experiencing a lighting secret they’ve used for decades: light the art from a 30-degree angle. This isn't just a random number. It's the absolute sweet spot that solves the two biggest headaches when lighting artwork.
- It Kills Glare: By hitting the art at this angle, the light reflects downward, well below eye level. This is the key to lighting a piece behind glass without turning it into a frustrating mirror.
- It Prevents Shadows: When you aim a light too steeply from above (at 45 degrees or more), the frame casts a distracting shadow over the top of the art. The shallower 30-degree angle washes the light evenly across the entire surface, frame and all.
Pro Tip: How to Find Your 30-Degree Angle
Don't have a protractor handy? No problem. A simple rule of thumb is to measure the distance from the wall to your ceiling fixture. That distance should be about half the height from the fixture down to the middle of your artwork. It’s a fantastic starting point for fine-tuning.
Adapting to Different Art Sizes
This principle scales beautifully, whether you're lighting a small print or a massive canvas. For a single, standard-sized piece, one well-aimed track head or monopoint, positioned at that 30-degree angle, will do the trick perfectly. You're aiming for a gentle pool of light that extends just slightly beyond the edges of the frame.
But what if you're lighting a huge statement piece or a curated gallery wall? You have a couple of great options.
- Multiple Lights: This is where track lighting really shines. You can aim individual heads at different pieces within a collection, always keeping that 30-degree rule in mind for each one.
- Wall Washers: For a very large canvas or an entire wall of art you want to treat as a single visual element, a wall washer is your best bet. It spreads a wide, even sheet of light from the ceiling down, creating a softer, more ambient glow.
Ultimately, positioning is a game of balance. The goal is to make the art pop, not to create distracting "hot spots" of light that draw attention to the bulb itself. The lighting should feel intentional yet completely natural.
And as you build your collection, understanding the artist's perspective can make all the difference. Insights on how to collect art from studio talks can help you display your pieces in a way that truly honors the original vision.
How To Select The Perfect Light Bulb
Think of your light fixture as the body and the bulb as its heart. The bulb is what truly makes your artwork sing, and picking the right one is what separates good lighting from a truly stunning display. It's easy to get bogged down in technical specs, but let's cut through the noise and focus on what really matters for your art.
Nail The Color Accuracy With High CRI
The single most important factor here is the Color Rendering Index, or CRI. It’s a simple 0-100 scale that tells you how accurately a light source shows an object's true colors compared to natural sunlight.
For showcasing art, a CRI below 90 is a deal-breaker. A low CRI can make a painting's vibrant reds look muddy or turn subtle blues a dull shade of gray. You'll lose all the nuance the artist worked so hard to create.
To protect your artwork and see it as the artist intended, always choose a bulb with a CRI of 90 or higher. This is non-negotiable for ensuring the colors you see are the real colors of the piece.
Choose The Right Mood With Color Temperature
Once you've got color accuracy sorted, it's time to think about mood. This is where color temperature, measured in Kelvin (K), comes in. It determines if the light feels warm and cozy or cool and modern.
You generally have two fantastic options, and the right one just depends on the vibe you're going for:
- Warm White (2700K): This is that classic, inviting glow you find in comfortable homes. It’s perfect for creating an intimate atmosphere in a living room, den, or bedroom, making the space feel instantly welcoming.
- Neutral White (3000K-3500K): This is your go-to for a cleaner, more contemporary look, much like what you’d find in a professional gallery. It brings a crisp vibrancy to the art without feeling sterile or overly clinical.
This chart can help you visualize how different color temperatures affect the feel of a room.
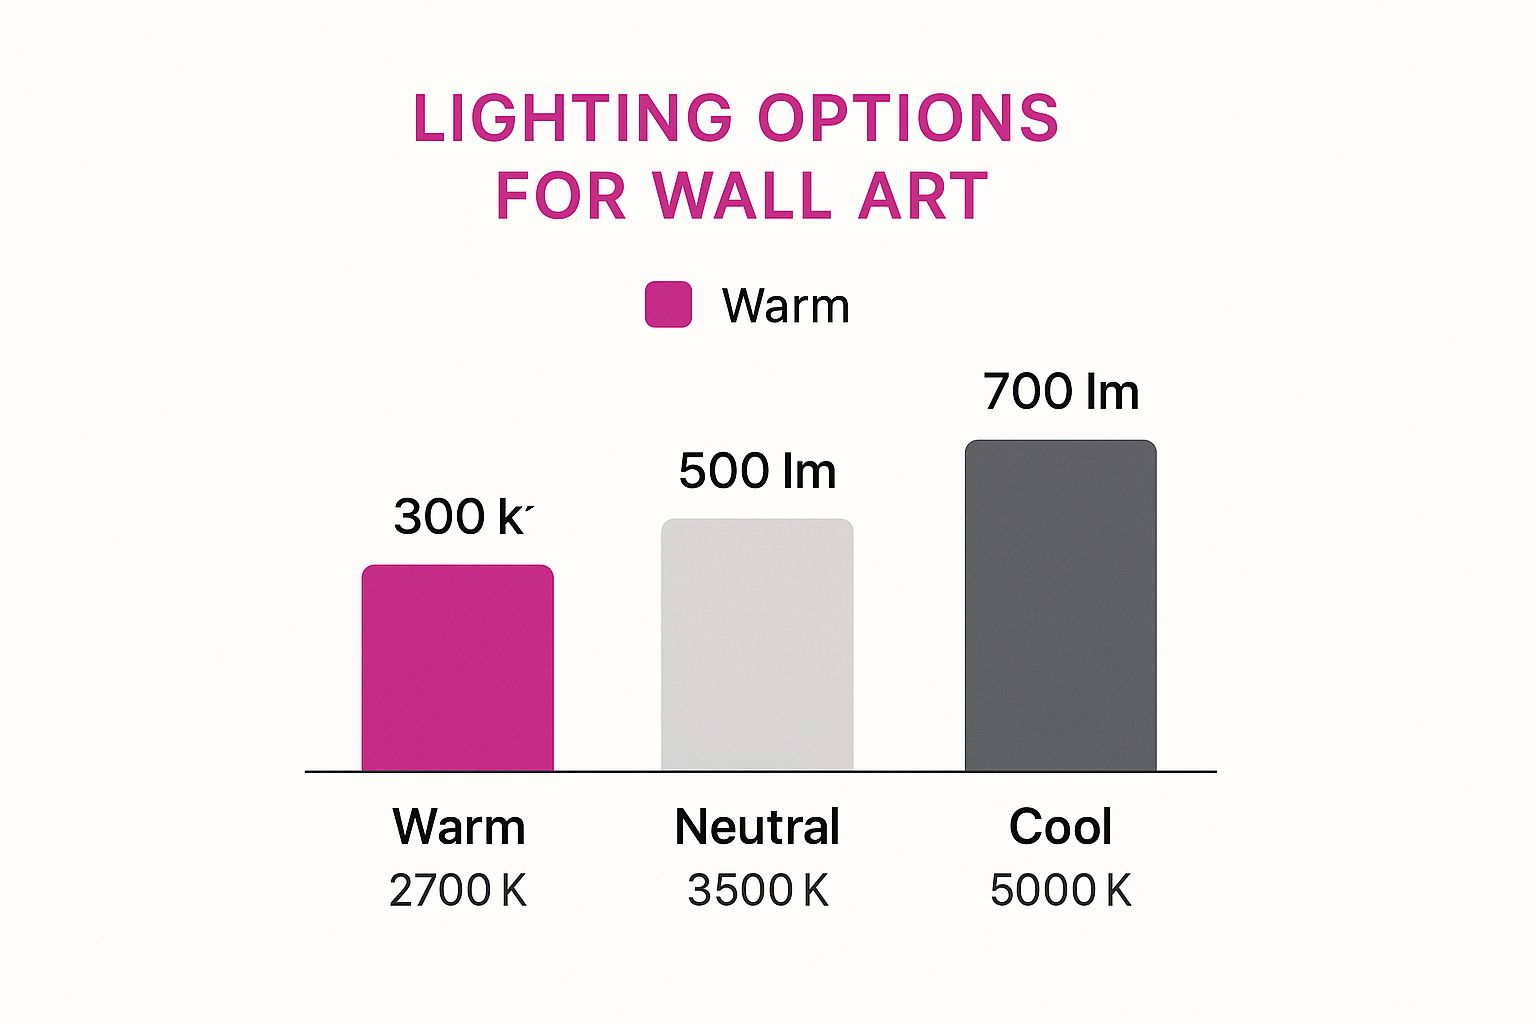
As a rule of thumb, lower Kelvin numbers create warmth, while higher numbers produce a brighter, more neutral light.
Match The Beam Spread To Your Artwork's Size
The final piece of this puzzle is the beam spread—the angle of the cone of light coming from the bulb. Getting this right is what creates that focused, polished look.
A narrow spot (10-25 degrees) is your best friend for small, individual pieces or for creating a dramatic highlight on a specific feature within a larger work. On the other hand, a wider flood (40-60 degrees) works beautifully for large canvases or gallery walls, giving you even coverage without a harsh hot spot in the center.
Art Lighting Bulb Comparison
When you're at the store, you'll see a few different bulb technologies. Here's a quick breakdown of how they stack up for lighting art.
| Bulb Type | CRI (Typical) | Heat Output | UV Emission | Best For |
|---|---|---|---|---|
| LED | 90-98+ | Very Low | Negligible | The gold standard. Excellent color, safe for art, and energy-efficient. |
| Halogen | 95-100 | High | High | Great color, but heat and UV rays can damage artwork over time. |
| CFL | 80-90 | Low | Low-Medium | Often poor color rendering and can contain mercury. Generally not advised. |
As you can see, modern LED bulbs are the undeniable winner. They produce almost no damaging UV radiation and very little heat, which are the two biggest culprits behind artwork fading and cracking. Add in their incredible energy efficiency and long lifespan, and they are the smartest, safest choice.
Choosing the perfect bulb might seem complicated at first, but by focusing on CRI, color temperature, and beam spread, you'll be well-equipped to make a great decision. If you want to dive even deeper, there are some excellent guides on selecting the right light bulbs for custom fixtures. A few minutes spent reading the box can ensure your art is not just lit, but beautifully preserved for years to come.
Fine-Tuning with Dimmers and Smart Controls
Simply installing a light fixture and calling it a day is a rookie mistake. The real magic in art lighting comes from having control. Static, on-or-off lighting is flat and lifeless. To truly make your art pop and adapt the room's mood, you need to bring in dynamic controls like dimmers and smart systems.
Your most basic—and most essential—tool here is the dimmer switch. Think of it as the volume knob for your light. It’s what lets you dial the intensity up or down, which is crucial for more than one reason. You can soften the light for a quiet, intimate evening or raise it just enough when you have company over. This isn't just about atmosphere; it also helps preserve your artwork by reducing its exposure to constant, full-blast light over time.
The Headaches of Mismatched Dimmers
I've seen it countless times: someone installs a beautiful new LED fixture, hooks it up to their old dimmer, and is met with a frustrating flicker, an annoying buzz, or a light that just won't dim properly.
It’s an easy mistake to make, but assuming any dimmer works with any bulb is a recipe for disappointment. LEDs are particularly sensitive. To get it right from the start, you need to check for compatibility.
- Check the Bulb: The packaging must explicitly say "Dimmable." If it doesn't, it won't work.
- Get the Right Switch: Look for dimmers specifically designed for LEDs. They're often labeled as C.L (Cree/Lutron) or LED+ dimmers because they're built to handle the unique, low-power demands of LED technology.
Don't skimp here. A high-quality, compatible dimmer is just as critical as the light fixture itself. It's the key to smooth, silent performance and protects both your bulbs and your art.
Taking Control to the Next Level with Smart Lighting
If you really want to elevate your setup, integrating your art lighting into a smart home system is the way to go. This unlocks a level of convenience and customization that a simple wall switch can’t touch. Picture your artwork's light automatically fading on to a gentle glow as the sun sets, then turning itself off when you head to bed.
With smart controls, you can:
- Use Your Voice: A quick "Hey Google, dim the art light to 30%" is all it takes.
- Set Schedules: Automate your lighting to sync with your daily routine or the time of day.
- Create "Scenes": Program preset lighting recipes for different moods. A single tap on your phone can switch from a bright "Entertaining" scene to a soft, dramatic "Movie Night" look.
This layer of automation makes your home feel more intuitive and personal. It’s the final, sophisticated touch that complements a beautiful collection, especially when you've invested in pieces like the kind of original art that transforms a room. When you pair exceptional art with intelligent lighting, you're not just illuminating a painting—you're curating an experience.
Let's Talk About a Few Common Art Lighting Mistakes
I've seen it happen time and again. Someone invests in a beautiful piece of art and a new light, but the result just falls flat. Learning from these common missteps is the best way to get your own lighting right from the start and avoid disappointment.
A classic mistake is creating what we call a "hot spot." This is that harsh, super-bright glare right in the middle of the artwork. It happens when the light source is too intense or the beam is aimed too directly. The glare is incredibly distracting and washes out all the beautiful detail you're trying to highlight.
The fix? Make sure your light's beam is wide enough to gently wash over the entire piece, including a little bit of the wall around it. You're aiming for a soft, even glow, not an interrogation lamp.
Another frequent error is picking the wrong color temperature. This can completely change the feel of the art. A cool, blue-toned light might make a painting with warm, earthy colors look cold and sterile. On the flip side, an overly warm, yellow light can make a piece with crisp whites and blues look dingy. Always test your bulb in the space before you commit.
Don't Let Your Lights Damage Your Art
Beyond just how it looks, some lighting choices can actually damage your investment over time. This is a big one.
Using old-school halogen bulbs is a major culprit. Yes, they render color well, but they get incredibly hot and pump out a ton of UV radiation. Over the years, that combination will cause irreversible fading, yellowing, and even cracking. It’s why modern LEDs are now the undisputed champion for lighting art.
Good lighting doesn’t just make your art look better; it actively protects it. The goal is to illuminate, not incinerate.
This isn't just a homeowner tip; it's a core principle in the professional world. The Global Art & Museum Lighting Market, valued at around USD 560.39 million, is booming precisely because of the development of specialized LEDs that protect priceless artifacts.
You can learn more about how preservation drives the professional lighting market, but the takeaway for you is simple. By choosing high-quality LEDs with low heat and low UV output, you're essentially using the same technology museums rely on to safeguard their collections for generations.
Your Art Lighting Questions, Answered
Over the years, I've heard just about every question you can imagine when it comes to lighting art. People often run into the same practical challenges, so let's clear up a few of the most common ones.
Can I Just Use My Main Ceiling Light for My Art?
It’s a tempting shortcut, but relying on a central ceiling light is one of the biggest mistakes I see. This kind of overhead lighting usually creates harsh glare and casts awkward, distracting shadows across the canvas. It just doesn't do the art justice.
For a truly professional look, you need dedicated, adjustable lights. Think about fixtures like track heads or monopoints that give you precise control. They let you aim the light at that sweet spot—the ideal 30-degree angle—which makes the art pop without causing any of that annoying reflection.
What's The Best Way To Light a Gallery Wall?
Ah, the gallery wall! It's a fantastic design element but can be tricky to light correctly. I usually recommend two main approaches.
Your first option is to use multiple adjustable lights on a single track system. This is great because you can aim an individual light at each piece or a small grouping, giving every artwork its own moment.
Alternatively, you can treat the entire collection as one large, unified piece. You can accomplish this by installing wall washers or recessed lights with a wider beam. This method casts a beautiful, even layer of light across the whole wall, creating a cohesive and dramatic effect.
Are LED Lights Safe for Valuable Paintings?
Absolutely. In fact, modern, high-quality LEDs are the safest choice you can make for any artwork, especially valuable pieces.
The two things that cause the most damage and fading over time are ultraviolet (UV) light and heat. Today's LEDs produce almost zero UV and very little heat, which makes them the go-to for museums and galleries everywhere.
To ensure colors look accurate while protecting your investment, always choose LEDs with a high CRI of 90 or above. This guarantees you see the true, vibrant colors the artist intended.